
Sometimes the kiddo (aka Infrequent Miniature Cooking Assistant) and I discuss food, and not the chicken finger/nugget/mac and cheese/ketchup variety. Sometimes we discuss candy, too! I’m totally ace-ing this parental deal, I’m telling you. Anyway, she and I both agree that Nestle’s Crunch candy is pretty darn good, especially the Buncha Crunch variety. It’s our favorite thing to get at the movie theater. So we decided we’d try to make a homemade version. While it’s of course not exactly like Nestle’s stellar version, it’s not too shabby! With that excited endorsement ringing in your ears, let’s go, kids!
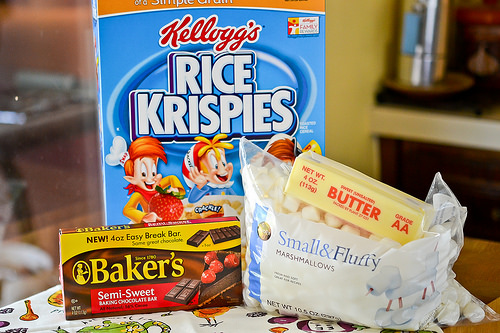
Oh yay! A very small pile of ingredients!
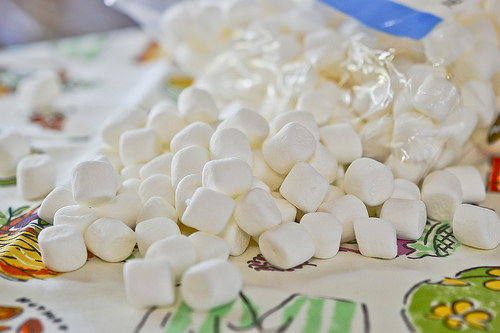
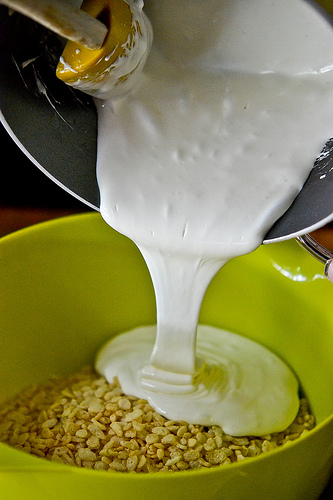
Oh noes! a pile of small and fluffy marshmallows are on the run and headed for a pan of melted butter! Whatever shall we do?
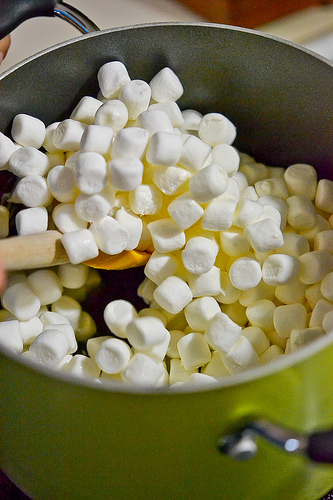
Oh well, they’re in there now. Nothing left to do but to stir them till they melt.
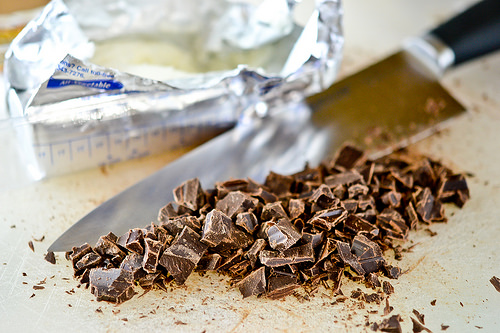
In the meantime, over at the cutting board, someone has committed a grave sin against chocolate - they’ve cut it into bits. Oh well, might as well keep going and melt it next!
Yes, we are, essentially, making Rice Krispies Treats. Twist my arm why dontcha! I confess to everything!
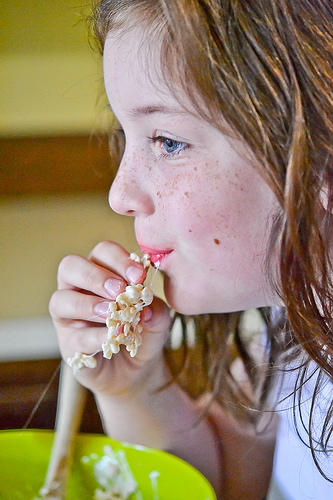
Like, how we kept snatching bits of the cereal and marshmallow mixture.
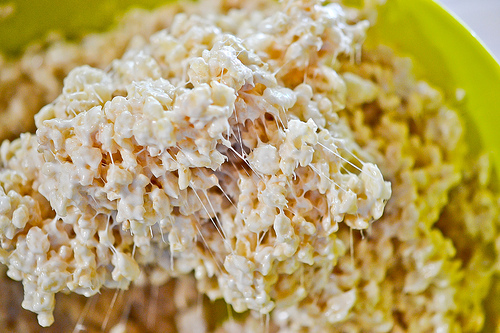
I may, uh, like to play with the mixture too, to see all those neat-o cobweb-like strings it makes.
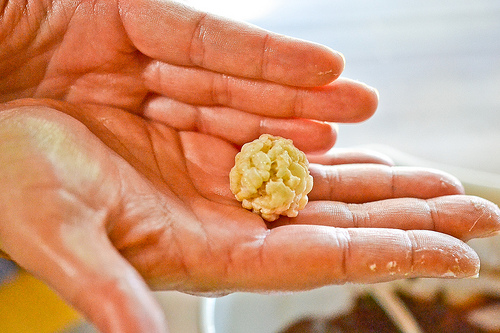
Here at Full Fork Ahead, we like to be helpful, so here’s what the candy initially looks like rolled into a ball shape. You’re so very welcome.
Here’s where it gets complicated!
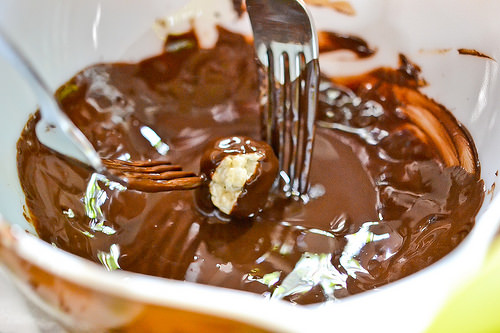
OK, not really. Just dip the darn ball into the melted chocolate and coat it all over. We used a couple of forks to do this so that we wouldn’t have to keep licking melted chocolate off our fingers. Cuz that’s what one does when chocolate is on their fingers, but that would have made this all take a lot longer. Heh!
Plus, I dunno, one of us might have had a sudden fit and turned the bowl up to our mouths and drank it all down. It could happen.
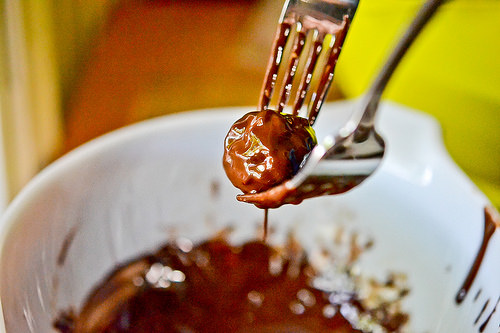
Allow the excess chocolate to drizzle off the candy for a few seconds. Go on, chocolate, go back to your home!
Then you just simply place each coated piece of candy on a wax paper-lined plate and place in the fridge till it sets up. If you’re lucky enough to live in a land far, far away and removed from our Southern U.S. one, where no heat or humidity is invading your space, you might could possibly maybe let the candy set on the counter. But we have to use the fridge. I mean, I was sweating while making this stuff. Sigh.
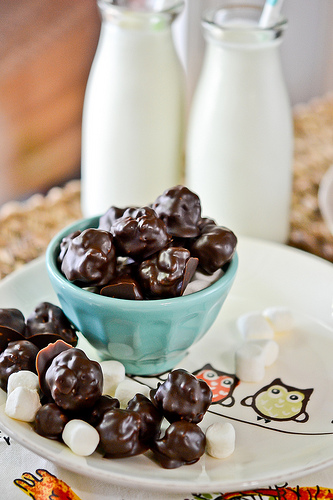
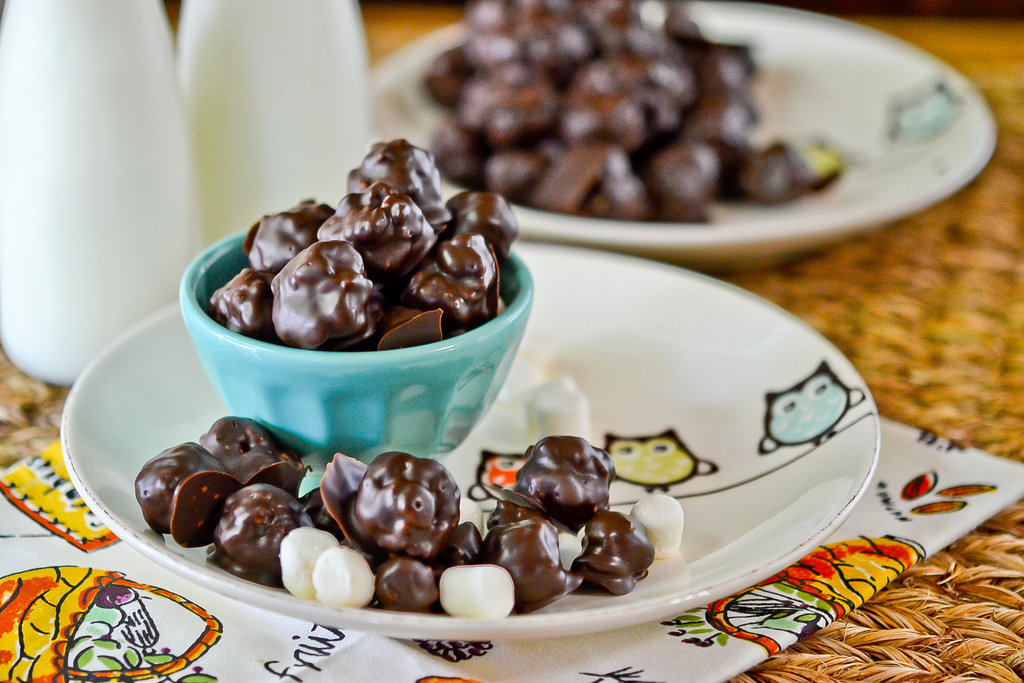
So does it taste like our inspiration? Well, not exactly. But it is yummy chocolate and marshmallow-y and a little crisp? Yup! Fun to make with the kiddos, fun to eat, it’s easy candy that is great for parties or sleepovers for the kids. Enjoy!
Chocolate Marshmallow Crunch Candy
From Full Fork Ahead, based on the Rice Krispy Treats recipe and inspired by Nestle Crunch Candy
- 3 tablespoons butter
- 1 10 oz. package marshmallows
- 6 cups crisp rice cereal
- 2 to 3 8 oz. packages semi-sweet baking chocolate, such as Baker’s
- 2-3 tablespoons vegetable shortening
- nonstick cooking spray
Place wax paper on three to four plates or a couple of cookie sheets and set aside.
Pour the six cups of cereal into a large mixing bowl. Set aside. Chop at least one box of chocolate finely, then add it to a small heat-proof bowl. Set aside.
In a large nonstick saucepan melt the butter over low heat. Add the marshmallows and stir until completely melted and smooth. Remove from heat.
Pour the melted marshmallow mixture over the cereal and, using a rubber spatula, mix until all the cereal and melted marshmallow mixture is combined.
Spray your hands lightly with nonstick cooking spray (to keep the cereal mixture from sticking to you). Roll several small bite-sized balls of the cereal mixture and place on a wax paper-lined plate or cookie sheet. Roll as many as you want to, then set aside.
Melt the chocolate in the microwave in 10-20 second intervals, stirring between each, until the chocolate is completely melted and smooth. If the chocolate seems too thick to easily coat the cereal balls, you can add a little of the vegetable shortening, microwaving again briefly to melt it, stirring again until smooth. We used about a tablespoon of shortening per box of chocolate.
Using two forks, lightly pierce a ball of cereal and roll it in the melted chocolate, coating it completely. Using the forks, raise the candy and let the excess chocolate fall off and back into the bowl, sshaking slightly if necessary. Place on a wax paper-lined plate or cookie sheet. Repeat until all the candy has been coated and melt more chocolate as needed. Refrigerate the candy to allow the chocolate to set up. Serve and enjoy!
Notes:
Sometimes you can allow candy like this to set up right on your counter, but it’s always so warm in my small kitchen and we usually put ours in the fridge. You may also need to store the candy in the fridge if you’re in a warmer climate.
We did our candy in several different sizes. Just do whatever you feel is good and fun for you. Bite-size and smaller works best.
This recipe makes a lot of candy, and if you feel you won’t need a whole lot, just cut the ingredients in half.


Recent Comments